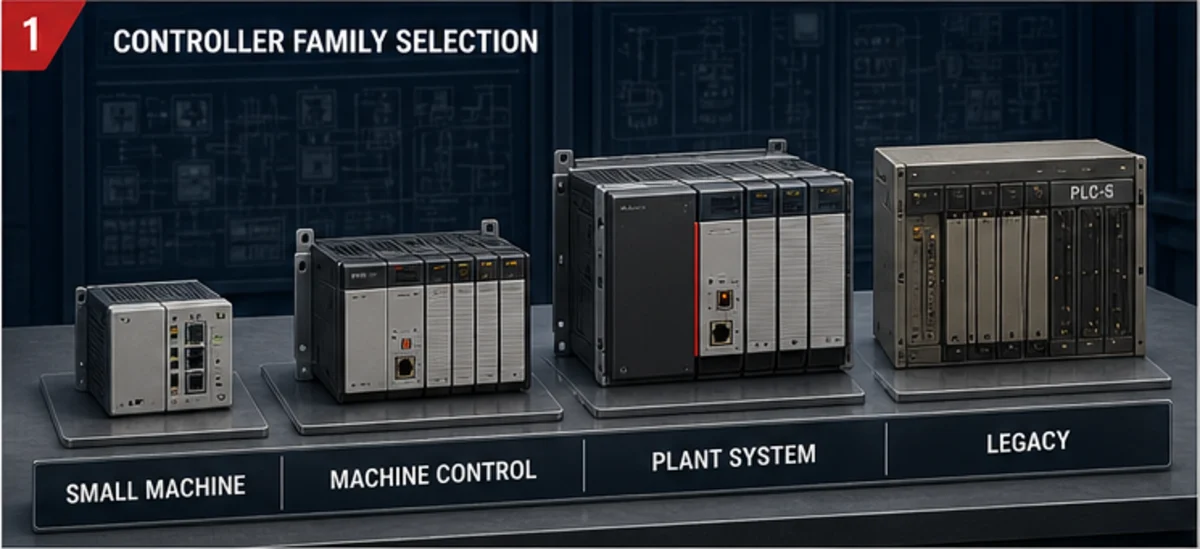
MicroLogix 1400 Complete Tutorial: Hardware, Software, Ethernet and Migration
Identify a Bulletin 1766 MicroLogix 1400, select verified RSLogix 500 software, recover its project, understand I/O and addressing, connect over Ethernet, troubleshoot faults and plan migration.
Direct answer
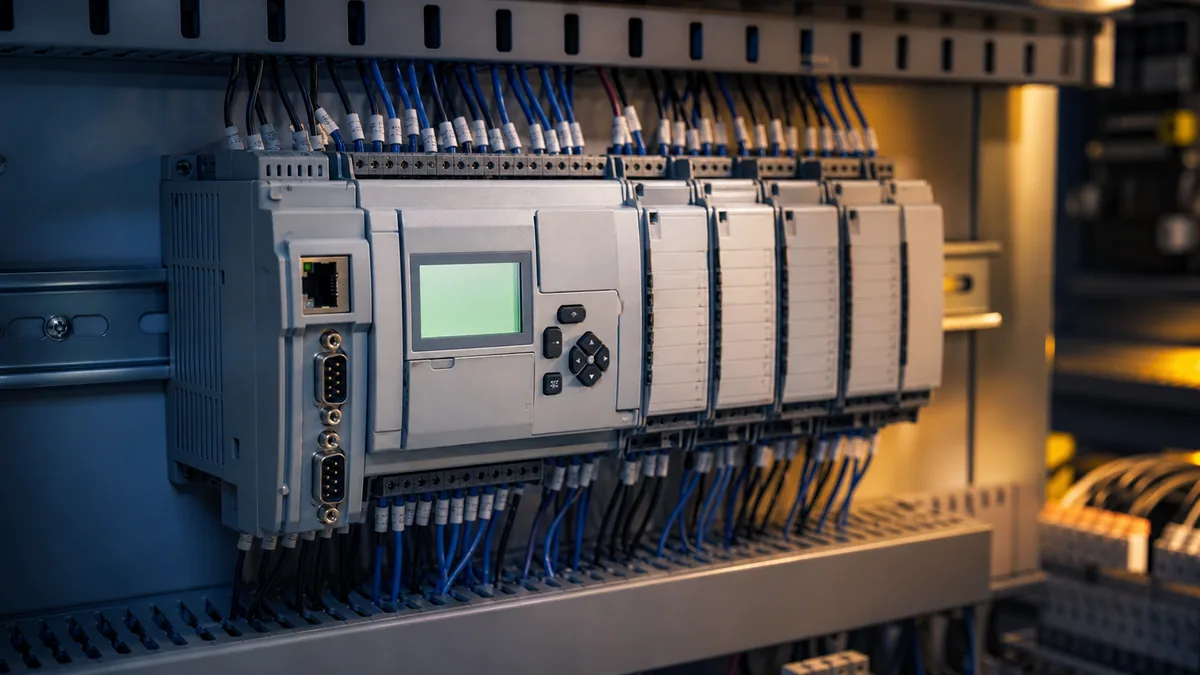
The Allen-Bradley MicroLogix 1400 is a Bulletin 1766 compact PLC programmed with a compatible edition/version of RSLogix 500. It combines 32 embedded digital I/O points, an LCD, Ethernet and two serial ports; analogue variants add four analogue inputs and two analogue outputs. Contrary to a common description, it is not limited to embedded I/O: Rockwell's current product page says all versions can expand with as many as seven Bulletin 1762 expansion modules. It does not have an embedded USB programming port in Rockwell's documented interface set.
As of this article's 2026-08-30 review, Rockwell's US product page lists current 1766 controller examples as Active Mature. Verify the exact catalog and region rather than converting that observation into a permanent family-wide lifecycle claim. For a running installation, preserve the project, live data, controller/firmware/software identity, network parameters and electrical record before changing drivers, firmware, IP addresses or logic.
Use the model tutorial for Bulletin 1766 work. If the first task is identifying whether the installed unit is a 1000, 1100, 1200, 1400 or 1500, start with the MicroLogix PLC family guide.
What this tutorial owns—and what it does not
This page owns the natural model intent: micrologix 1400, allen bradley micrologix 1400, micrologix 1400 plc and the awkward planned phrase allenbradley plc micrologix 1400. Those phrases do not need competing URLs. It covers hardware variants, software verification, project recovery, address concepts, Ethernet connection, I/O validation, fault isolation and migration.
It does not host software or manuals. Use Rockwell's Product Compatibility and Download Center (PCDC) and official literature. It does not provide a universal fault-code lookup without controller revision/context. It does not treat a browser ladder exercise as physical-controller emulation or commissioning proof.
| Task | Owner | Boundary |
|---|---|---|
| identify or compare all MicroLogix families | MicroLogix PLC family guide | 1000/1100/1200/1400/1500 architecture and lifecycle |
| operate and support a Bulletin 1766 controller | this tutorial | hardware, project, Ethernet, I/O, faults and migration |
| download compatible software or firmware | Rockwell PCDC | official entitlement, OS, version and target compatibility |
| confirm one terminal or rating | exact 1766 installation/user manual | catalog-, series- and revision-specific authority |
| practise generic ladder logic | PLC training simulator | learning model, not 1766 hardware emulation |
Identify the exact MicroLogix 1400 catalog
The controller label is the start of every procedure. Record the full 1766 catalog, series, revision and supply information. Photograph terminal labels and the expansion chain. A suffix changes input voltage, supply voltage, output technology and embedded analogue I/O.
Rockwell's current US product page lists these principal controller configurations. Descriptions below are condensed from that page and still require the exact installation publication before wiring.
| Catalog | Supply and embedded inputs | Embedded outputs | Embedded analogue |
|---|---|---|---|
| 1766-L32AWA | 110/240 V AC supply; 20 digital 120 V AC inputs | 12 relay outputs | none stated in base description |
| 1766-L32AWAA | 110/240 V AC supply; 20 digital 120 V AC inputs | 12 relay outputs | 4 analogue inputs, 2 analogue outputs |
| 1766-L32BWA | 110/240 V AC supply; 12 fast + 8 normal 24 V DC inputs | 12 relay outputs | none stated in base description |
| 1766-L32BWAA | 110/240 V AC supply; 12 fast + 8 normal 24 V DC inputs | 12 relay outputs | 4 analogue inputs, 2 analogue outputs |
| 1766-L32BXB | 24 V DC supply; 12 fast + 8 normal 24 V DC inputs | 6 relay + 3 fast + 3 normal 24 V DC outputs | none stated in base description |
| 1766-L32BXBA | 24 V DC supply; 12 fast + 8 normal 24 V DC inputs | 6 relay + 3 fast + 3 normal 24 V DC outputs | 4 analogue inputs, 2 analogue outputs |
Do not call all 12 outputs “relay” or all inputs “24 V DC.” Do not infer analogue points from the case. The A suffix in these current examples distinguishes the embedded analogue variants. Confirm terminal grouping, common arrangement, current limits, isolation, high-speed capability and environmental ratings in the exact publication.
Hardware capabilities that affect the project
Embedded and expansion I/O
Controllers without embedded analogue points provide 32 embedded digital points. The analogue variants provide the same digital-point count plus six analogue points. Rockwell says all versions support up to seven 1762 MicroLogix expansion I/O modules and up to 256 discrete I/O. Expansion selection still depends on module compatibility, power budget, physical order, wiring, project configuration and the exact controller/firmware.
Memory and local functions
Rockwell states 10 KB words of user program memory and 10 KB words of user data memory, plus capacity for data logging and recipes. Treat those as platform specifications, not proof that a particular project has spare capacity. Record current program/data usage, data-log configuration and recipe ownership before adding features or converting the application.
The LCD can expose controller/I/O status and permit supported monitoring or manipulation. That is useful evidence, but it is not a replacement for the full project, status data and exact fault reference. Photograph the display and LEDs before clearing a fault.
Communications
The documented interface set includes Ethernet and two serial ports. Rockwell lists EtherNet/IP messaging, Modbus TCP/IP and DNP3-over-IP capabilities in current product details, while serial support includes protocols such as DF1, DH-485, Modbus RTU, DNP3 and ASCII. Protocol presence is not a complete integration design: define which device initiates, addressing, data map, update rate, timeout, reconnect and stale-data behavior.
| Capability | What it enables | What still needs proof |
|---|---|---|
| Ethernet | programming access, supported messaging and web functions | addressing, route, firmware, protocol role, security and failure behavior |
| serial channels | supported DF1/DH-485/Modbus/DNP3/ASCII use | cable/pinout, electrical standard, mode, baud/framing and arbitration |
| LCD | local status and supported data interaction | meaning of the exact screen, access control and field procedure |
| 1762 expansion | more and specialized I/O | module compatibility, power, order, addressing and project match |
| high-speed functions | fast inputs/counters and supported pulse outputs on relevant catalogs | exact terminal, frequency, electrical load, logic and timing acceptance |
| data logging/recipes | local historical or parameter functions | capacity, retention, timestamps, retrieval and corruption recovery |
Select and preserve the RSLogix 500 environment
MicroLogix 1400 software starts with RSLogix 500
Rockwell's current product page states that the MicroLogix 1400 is programmed with RSLogix 500 software. That statement does not make every RSLogix 500, RSLogix Micro, Starter or Lite edition compatible. Edition, version, activation, Windows support, controller catalog, series and firmware all matter. Verify the target in current PCDC information and preserve legitimate installation and entitlement evidence.
Do not obtain engineering software from an unofficial download site. Besides licensing and malware risk, an unidentified package may not support the controller or may convert the project unexpectedly. If an old environment must be preserved, use the organization's approved workstation or virtual-machine policy, restrict network exposure and record a recoverable build procedure.
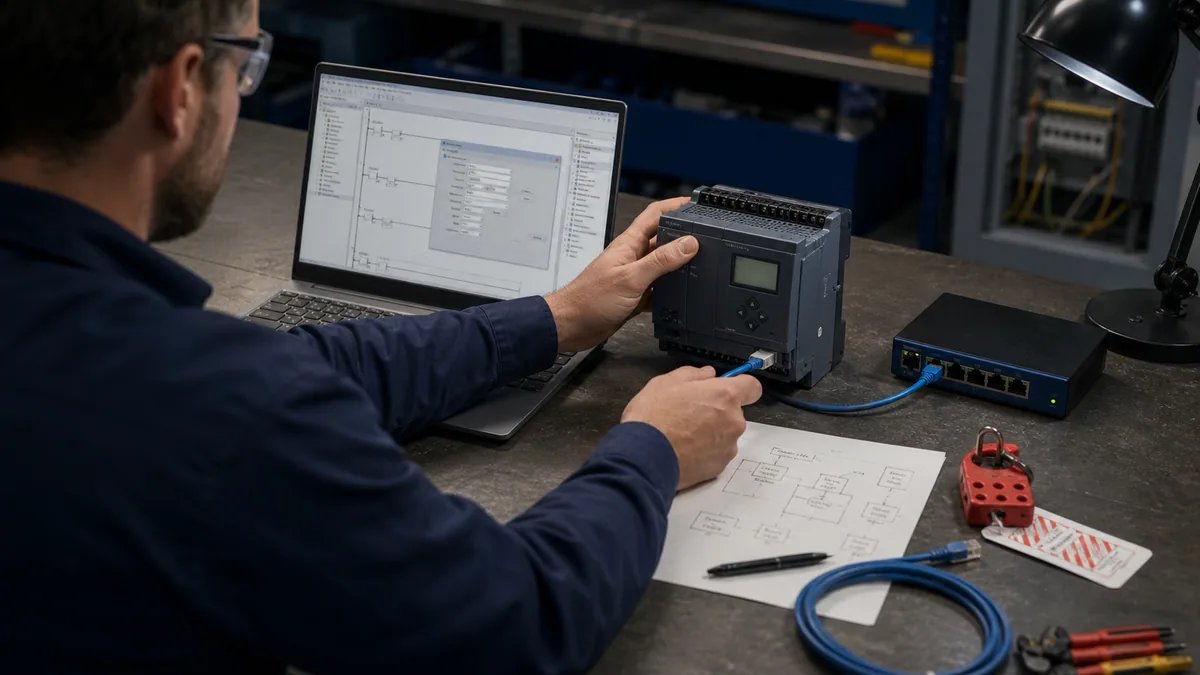
Back up before going online to change anything
Make a read-only copy of the last approved project. During an authorized connection window, identify the controller before upload/download. Upload and compare where the environment permits. Preserve controller identity, online data/recipes, project comments/symbols, software version, driver configuration and any conversion report. A processor upload may recover runnable logic but not every offline description, source note or external HMI artifact.
| Backup item | Why it matters | Acceptance check |
|---|---|---|
original .RSS archive |
preserves the last approved engineering source | opens read-only in the recorded software environment |
| uploaded/compared project | tests whether archive matches the running controller | differences are reviewed and dispositioned |
| controller/firmware/software manifest | makes future access reproducible | second authorized workstation can identify the target |
| live data and recipes | captures values not guaranteed by offline source | critical values have owner, units and restore rule |
| HMI and peer maps | preserves external writes and messages | each producer/consumer and timeout is documented |
| drawings and terminal photos | connects logic addresses to physical circuits | field walkdown discrepancies are logged |
| restore procedure | prevents panic downloads during downtime | bench or tabletop rehearsal includes rollback and stop rules |
Understand MicroLogix 1400 addressing
RSLogix 500 uses data files and address-based references rather than the controller-scoped symbolic tags familiar from Studio 5000. Common examples include inputs (I), outputs (O), status (S), binary (B3), timers (T4), counters (C5), control (R6), integers (N7) and floating point (F8). Exact file numbers can be created or configured differently, and exact I/O addresses depend on the controller and modules.
| Data area | Example | Meaning to verify |
|---|---|---|
| input image | I:0/0 |
one embedded input bit in an example configuration |
| output image | O:0/0 |
one embedded output command bit in an example configuration |
| status | S:... |
controller status; use the exact reference manual |
| binary | B3:0/0 |
internal Boolean storage |
| timer | T4:0 |
timer structure with status and accumulated/preset data |
| counter | C5:0 |
counter structure |
| control | R6:0 |
control structure used by supported instructions |
| integer | N7:0 |
integer word |
| float | F8:0 |
floating-point value where supported/configured |
An address is not an engineering meaning. I:0/0 must be documented as something like Infeed_PE_Clear, including normal state, electrical type, source drawing and failure behavior. Preserve symbols and descriptions during migration so a working but opaque address map does not become an opaque tag database.
Basic start/stop pattern
The classic seal-in rung has a start request, stop/permissive path and maintained run command. In a real machine, separate command from motor feedback and safety status. A PLC output should not be described as proof that a motor is running, and standard logic must not replace a safety-rated stop function.
       Start      Stop_OK     Permissive             Run_Cmd
       I:0/0      I:0/1       B3:0/1                 O:0/0
----+---| |---------| |---------| |--------------------( )---
    |                                                     |
    +------------------| |--------------------------------+
                       O:0/0
Test start, stop, permissive loss, output/feedback disagreement, power restoration and controller fault recovery. For a timer, enter the preset in the units and time base configured for that timer/controller; do not copy a millisecond claim from another platform. Use the exact 1766 instruction/reference manual.
Connect to a MicroLogix 1400 over Ethernet
Prepare an isolated, reversible connection
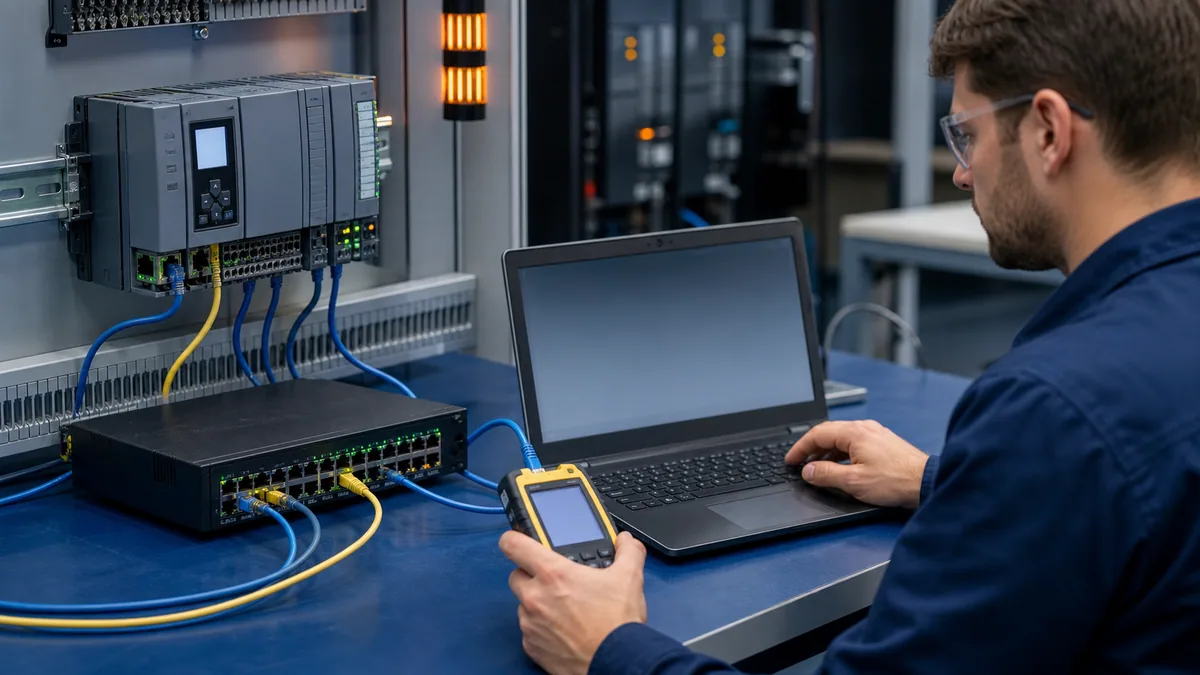
Obtain authorization and a backup plan. Record the current controller address, subnet, gateway, operating mode, link state and known peers. Configure the engineering laptop with a unique address in the intended subnet and disable unintended routes or wireless bridging under site policy. Use an isolated switch or direct supported arrangement where the approved procedure calls for it.
Do not use BOOTP/DHCP tools blindly on a production network. Do not change the controller address just because the laptop cannot connect. First determine whether the failure is physical link, IP reachability, routing, driver configuration, controller identity, mode, software compatibility or application protocol.
Use a layered connection sequence
- Verify the correct physical port and a known-good cable.
- Observe link/activity state on the controller and switch.
- Confirm the laptop address, mask and duplicate-address risk.
- Test IP reachability where site rules allow, recognizing that ping alone is not a programming-session test.
- Configure the supported Rockwell communications driver/route for the recorded environment.
- Browse and verify the full controller identity before selecting it.
- Open the approved project copy and compare before any download or online edit.
- Record the final configuration and remove the temporary engineering path.
| Symptom | First boundary | Evidence before change | Avoid |
|---|---|---|---|
| no link light | port/cable/power | cable test, port state, controller power | changing IP address |
| link but no reachability | laptop/controller IP and mask | recorded addresses, ARP/duplicate check, isolated test | adding broad routes |
| reachable but not browseable | driver/route/service | supported driver config and controller identity | firmware flashing |
| browseable but project mismatch | catalog/series/firmware/project | compare report and approved archive | downloading to “see if it works” |
| programming works but HMI/peer fails | application protocol/data map | initiator, target, message status, timeout and stale-data state | blaming the Ethernet cable alone |
| intermittent session | physical/network load/duplicate/IP path | switch counters, link changes, duplicate check, controlled trace | repeated uncontrolled reconnects |
Verify digital and analogue I/O safely
Trace the complete current path
For a digital input, identify field supply, protective device, sensor/contact, input terminal and common. For an output, identify output technology, source voltage/common, interposing device where present, load, suppression and field feedback. Relay, transistor and AC/DC variants do not share one generic wiring diagram.
Use the exact installation instructions and local electrical/safety rules. De-energize and verify absence of hazardous energy where the procedure requires it. Never infer safe touch voltage from a PLC model name, and never use online forcing as a shortcut around the machine's approved test controls.
Separate command, terminal and process evidence
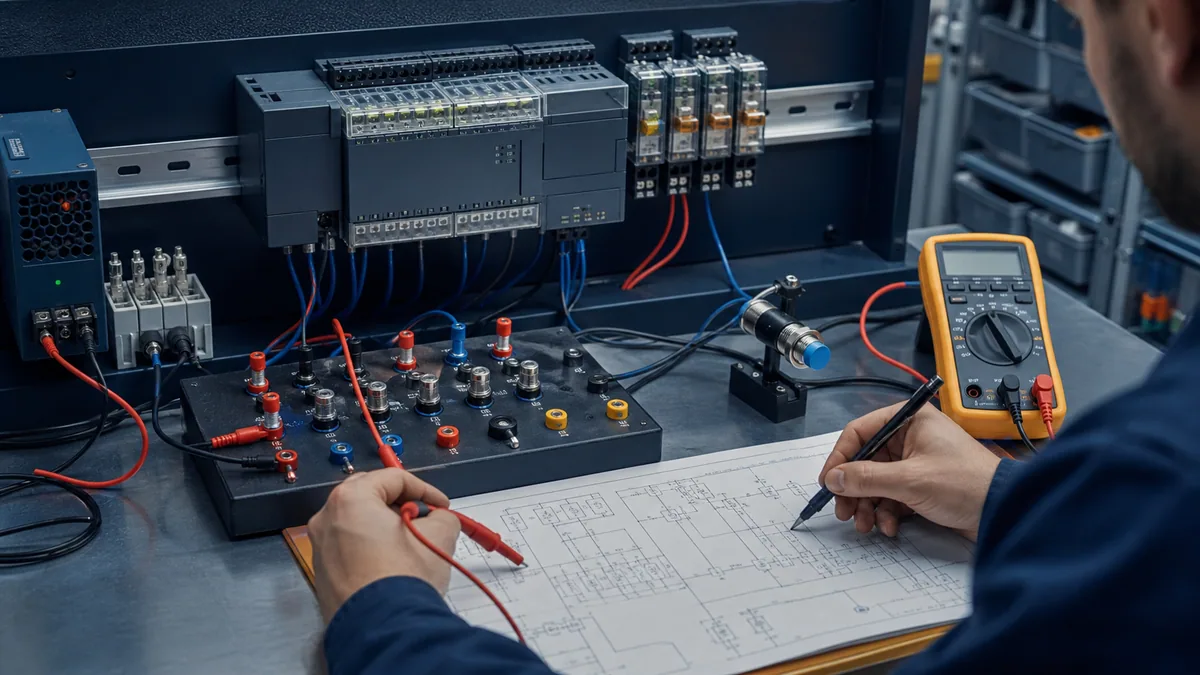
An output-image bit can be true while the physical output is disabled, failed, incorrectly wired or unable to energize the load. Conversely, a field device can move from another energy path. Verify the logic command, output indicator, terminal voltage/current under the approved method, interposing relay/contactor state and process feedback as separate facts.
| Evidence point | Digital input example | Digital output example | Analogue example |
|---|---|---|---|
| process | sensor target present | valve expected open | known pressure/temperature stimulus |
| field device | sensor output switches | relay/contactor/load responds | transmitter produces expected signal |
| terminal | correct voltage/current path | correct source and switched terminal | loop current/voltage within expected range |
| module/controller | input indicator/image changes | output command and channel state | raw count changes without saturation/fault |
| application | meaning and debounce correct | interlock and feedback logic correct | scaling, units, limits and fault handling correct |
| failure test | open/short or stuck state handled | feedback mismatch/time-out handled | under/over-range, broken loop and stale value handled |
Troubleshoot faults without destroying evidence
Capture before reset
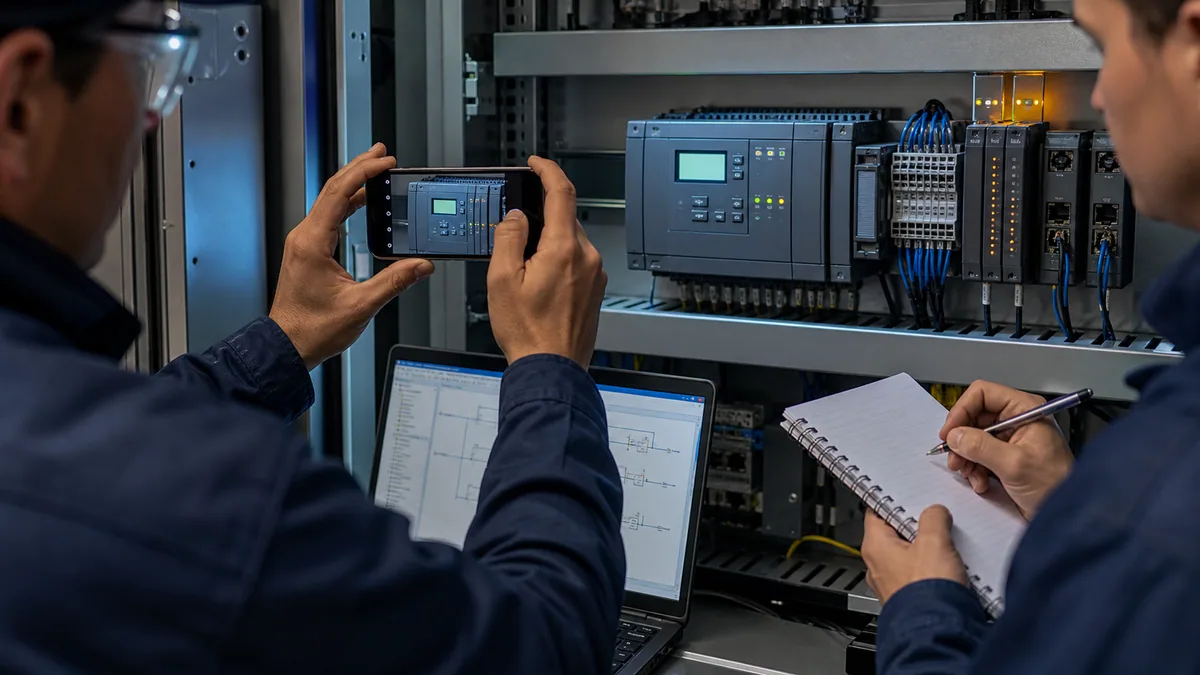
Record time, machine state, controller mode, LCD message, LED pattern, recent work, environmental condition and operator report. Photograph the evidence. If authorized and possible, save/upload the project and data. Review processor status and any fault routine using the exact controller revision's manual. A generic fault-code list can omit qualifiers or prescribe the wrong recovery action.
Then isolate power/controller, input, logic, output, communications and mechanical/process boundaries. Clearing a fault can be part of a controlled recovery after the cause is understood; it is not the diagnosis.
| Fault class | Distinguishing evidence | Next safe question |
|---|---|---|
| power | supply/fuse/ground evidence, controller dark or unstable | is rated power present and stable under the authorized test? |
| controller execution | mode, major fault, watchdog/status evidence | what exact status/manual condition stopped execution? |
| input | field state differs from terminal/image | where does the current path stop? |
| logic/sequence | input is correct but transition is blocked | which permissive, state, timer or data condition is first false? |
| output | command differs from channel/terminal/load | is it configuration, protection, channel, interface or load? |
| communications | controller runs locally but peer data is absent/stale | which link, route, message status or timeout fails first? |
| process/mechanical | I/O and command agree but outcome fails | what external energy, mechanism or instrument condition is missing? |
Plan a MicroLogix 1400 migration
Active Mature does not answer the retain-or-migrate question
Use exact lifecycle, recovery quality, spare condition, security exposure, expected downtime, required changes and process consequence. A healthy documented installation may be retained under a controlled support plan. An undocumented controller with no tested restore path can justify migration even if replacement hardware is technically obtainable.
Rockwell's MicroLogix-to-Micro800 guide describes target selection, hardware/wiring comparison and project conversion. Conversion accelerates a starting point; it does not prove equivalent behavior. Address-based data, instructions, high-speed functions, serial/Ethernet messages, HMI references, retentive values, data logs, recipes, scan-dependent assumptions and power-up behavior all require review.
Build an acceptance matrix before conversion
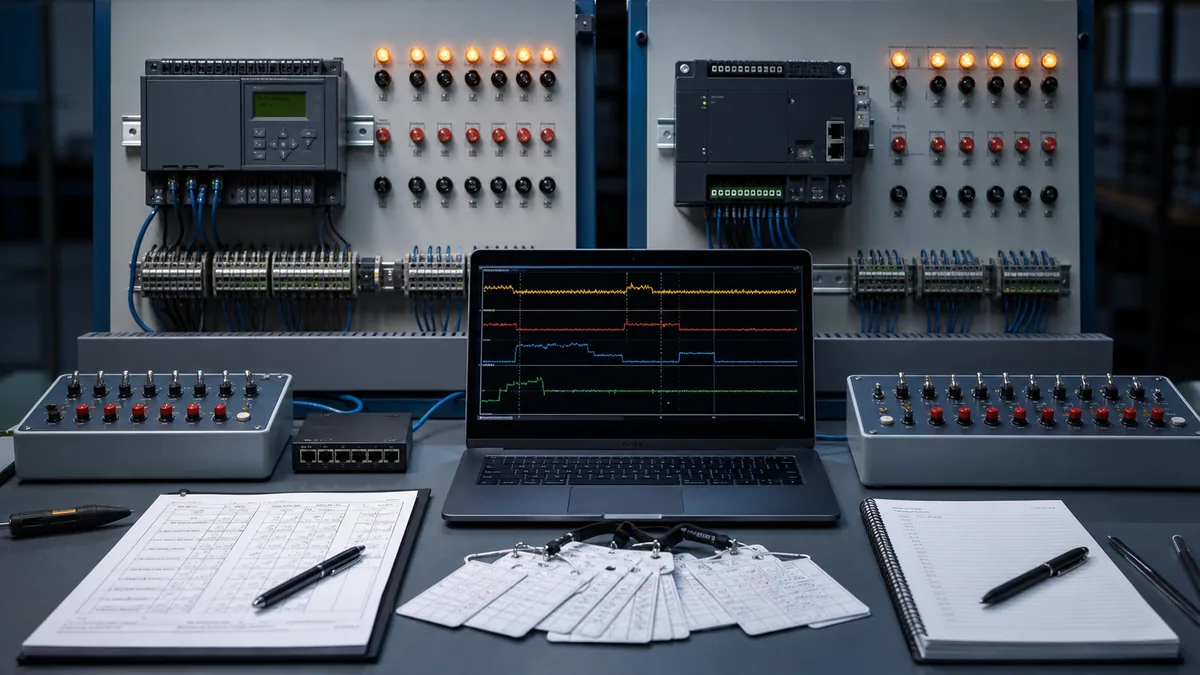
List normal cycles, minimum/maximum values, operator modes, startup, controlled stop, power loss, communication loss, invalid sensors, output feedback mismatch, timer expiry, full counters/data, recipe selection and controller fault recovery. Assign each result to learning model, converted project, representative bench and installed field test.
| Migration phase | Deliverable | Exit evidence |
|---|---|---|
| discover | identity, project/data recovery, drawings and behavior inventory | baseline gaps are known and owned |
| select | target CPU/I/O/comms/power/enclosure architecture | every mandatory requirement maps to supported hardware |
| convert | reviewed target project and traceability map | warnings, unsupported instructions and manual rewrites dispositioned |
| bench | representative I/O, HMI/comms and fault test | normal, limit, fault and restart cases pass |
| field | authorized installation and commissioning plan | terminals, polarity, networks and process response verified |
| handover | backups, source, training, spares and recovery record | independent authorized maintainer can restore and diagnose |
What simulation can and cannot prove
The PLC training simulator is useful for rehearsing the start/stop rung, state-machine transitions, permissives, timer logic, alarms and negative tests. It can help an engineer write an explicit expected-state table before touching the installed controller.
It is not an RSLogix 500 runtime, a MicroLogix 1400 firmware emulator or a substitute for hardware. It cannot prove 1766 instruction details, real scan timing, I/O filtering, relay/transistor behavior, analogue accuracy, serial/Ethernet performance, electrical protection, machine safety or commissioning. Record “logic model passed” as one evidence level and continue to the representative bench and field.
Direct official sources and manuals
- MicroLogix 1400 product page — current platform features, catalog descriptions and lifecycle labels.
- MicroLogix 1400 technical documentation hub — official route to specifications, installation, user and reference publications.
- MicroLogix Programmable Controllers Selection Guide, 1761-SG001 — catalog selection and family context.
- MicroLogix 1400 Installation Instructions, 1766-IN001 — installation and terminal authority.
- MicroLogix 1400 User Manual, 1766-UM001 — configuration, operation and controller use.
- MicroLogix 1400 Reference Manual, 1766-RM001 — instruction and status reference.
- MicroLogix 1400 Embedded Web Server User Manual, 1766-UM002 — web-server behavior and configuration scope.
- MicroLogix to Micro800 Migration Guide, 2080-RM002 — hardware comparison and conversion workflow.
- Rockwell Automation PCDC — official software/firmware/download and compatibility verification.
- Rockwell Automation Product Lifecycle Status — current exact-catalog lifecycle lookup.
- NIST SP 800-82 Rev. 3 — OT security and legacy-system risk context.
- OSHA control of hazardous energy, 29 CFR 1910.147 — covered US hazardous-energy requirements; local law and site rules govern field work.
Frequently asked questions
What is a MicroLogix 1400 PLC?
It is an Allen-Bradley Bulletin 1766 compact PLC in the RSLogix 500 ecosystem. It has 32 embedded digital I/O points, LCD, Ethernet and two serial ports; some catalog variants add six analogue points, and Rockwell states that the platform supports up to seven 1762 expansion modules.
What software programs a MicroLogix 1400?
Rockwell states RSLogix 500 software. Verify the exact edition, version, activation, operating-system support, controller series and firmware in current PCDC data before field work. Do not assume every RSLogix Micro or limited no-cost edition supports the 1400.
Does RSLogix Micro Starter Lite program a MicroLogix 1400?
Do not assume it does. Rockwell's limited editions have had specific controller coverage over time. Check the current official product description and compatibility matrix for the exact 1766 target; preserve a legitimate supported engineering environment.
Does a MicroLogix 1400 have USB?
Rockwell's documented embedded communications for the 1400 are Ethernet and two serial ports; it does not list an embedded USB programming port. An external converter may itself use USB on the computer side, but that does not make the controller port USB or prove compatibility.
Can a MicroLogix 1400 use expansion I/O?
Yes. Rockwell's current product page states that all versions support up to seven Bulletin 1762 expansion I/O modules and up to 256 discrete I/O. Verify exact module compatibility, power, physical order, firmware and project configuration.
How do I connect to a MicroLogix 1400 over Ethernet?
Record and back up first. Establish a controlled physical link, configure a unique laptop address in the correct subnet, verify controller reachability and identity, configure the supported Rockwell communication route, then compare the approved project before any download or edit. Do not change IP or firmware as a first diagnostic step.
How do I back up a MicroLogix 1400?
Preserve the original project and an authorized upload/compare, controller/firmware/software identity, live/retentive data and recipes where supported, HMI and message maps, network parameters, drawings, terminal photos, passwords under controlled handling and a tested restore procedure.
How do I troubleshoot a MicroLogix 1400 fault?
Capture LCD, LEDs, controller mode, time and machine state before reset. Preserve project/status data where authorized. Use the exact controller revision's manual, then isolate power, execution, input, logic, output, communications and process boundaries. Correct and retest the cause before returning to service.
Is the MicroLogix 1400 discontinued?
On the 2026-08-30 review date, Rockwell's current US product page labeled the listed 1766 controller examples Active Mature. Lifecycle can change and is catalog/region specific, so search the exact item in the current lifecycle tool rather than relying on this dated observation.
What replaces a MicroLogix 1400?
Rockwell provides a MicroLogix-to-Micro800 migration guide, and some applications warrant CompactLogix. Neither is a drop-in. Map power, I/O, terminals, communications, instructions, data, HMI, timing, faults and restart behavior, then prove the target on a representative bench and in authorized commissioning.
Next step
Start with a recovery record, not a download. Then build one representative sequence and its failure cases in the PLC training simulator, clearly label the result as logic-model evidence, and carry the same acceptance matrix to a representative 1766 or migration bench.